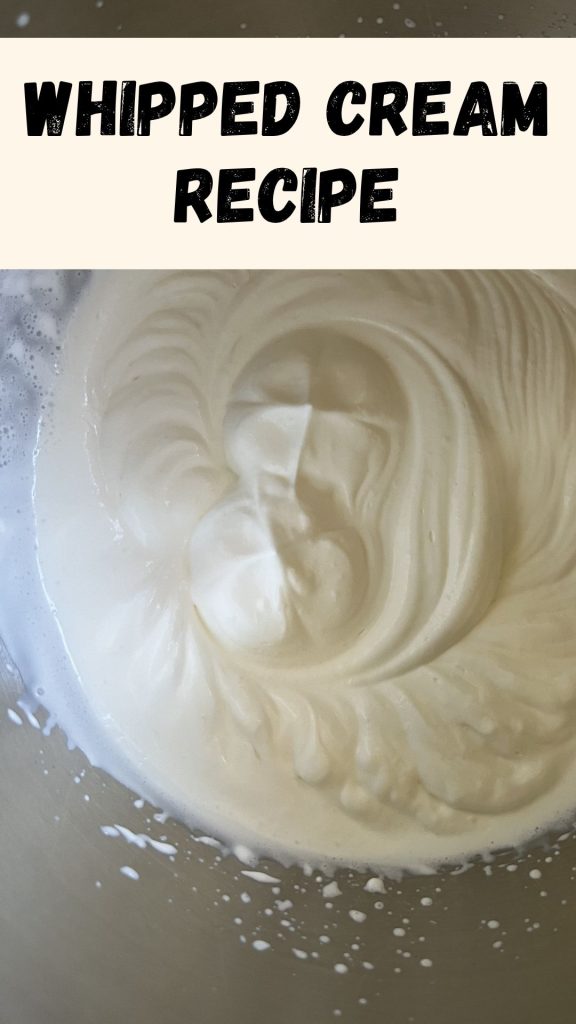
Homemade whipped cream is one of those simple touches that can elevate even the most basic dessert. Light, airy, it comes together in minutes and tastes far better than anything store-bought. Whether you’re topping fresh berries, pies, or a cup of coffee, this classic recipe is a staple worth keeping on hand.
Prep Time: 5 minutes
Total Time: 5 minutes
Servings: About 2 cups
Ingredients
- 1 cup heavy whipping cream (cold)
- 1 teaspoon vanilla extract
Instructions
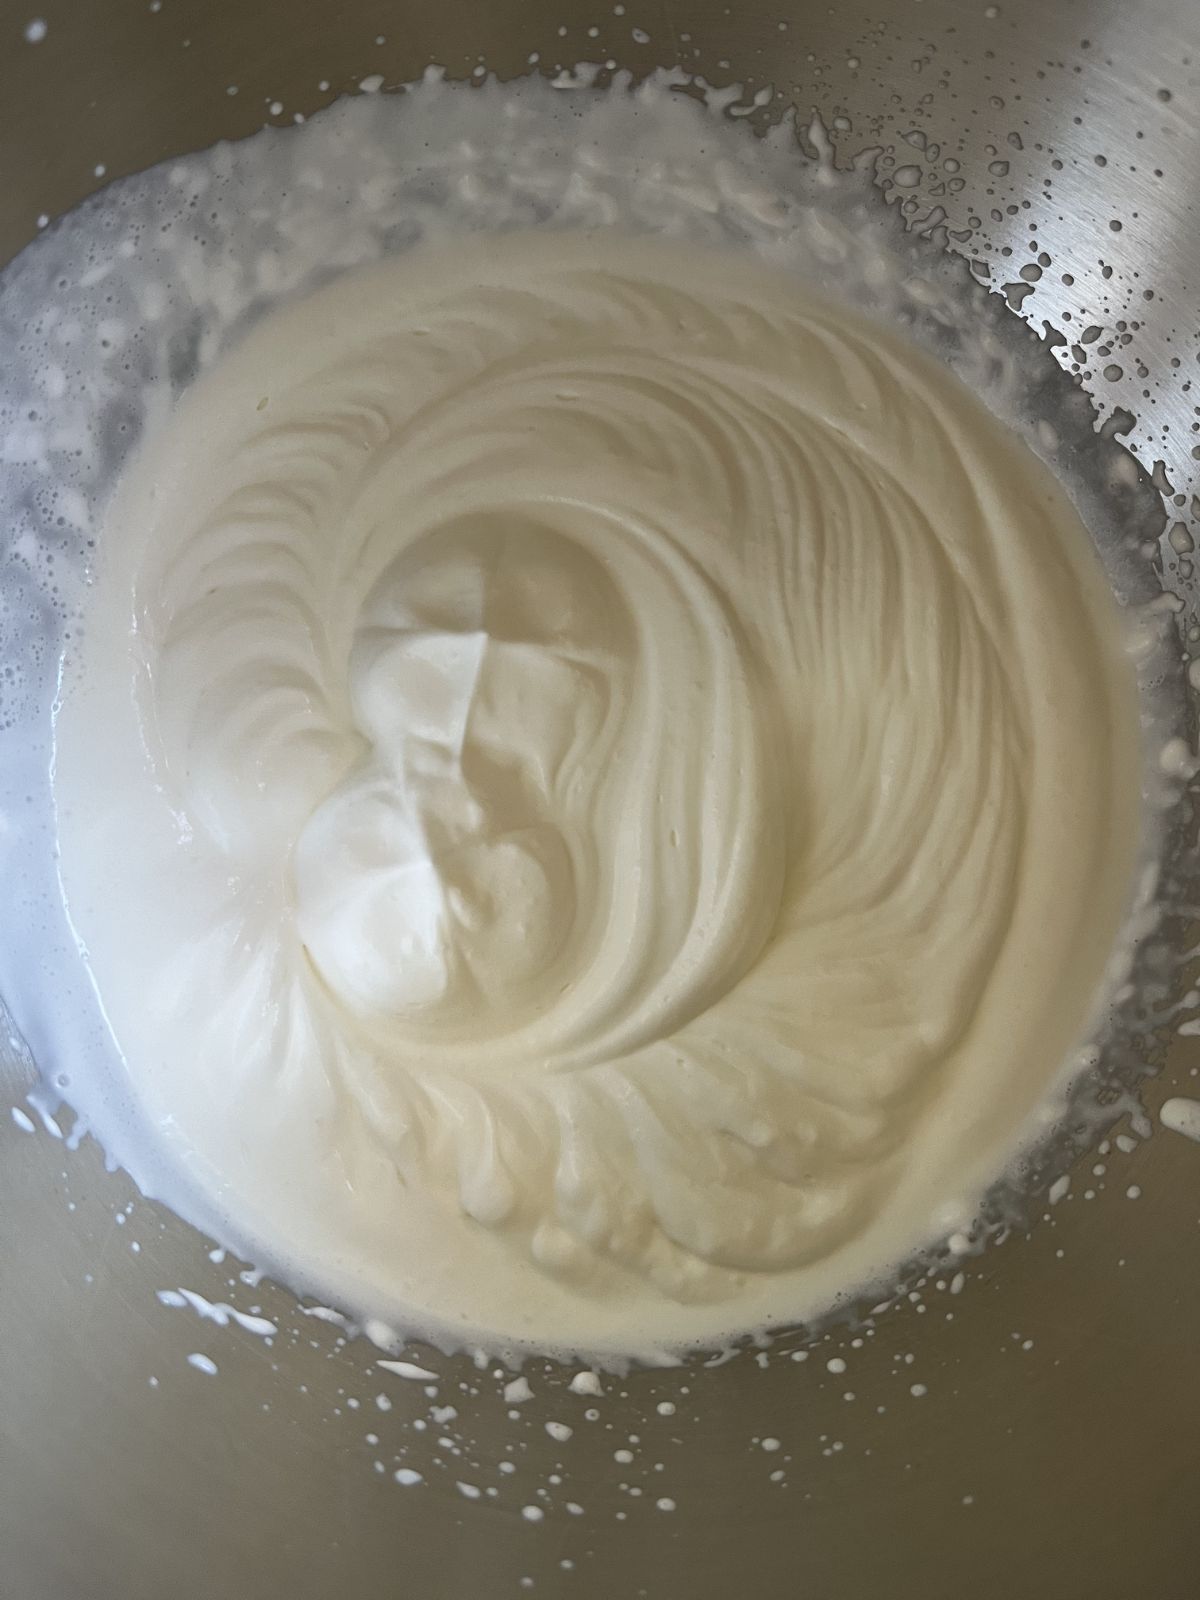
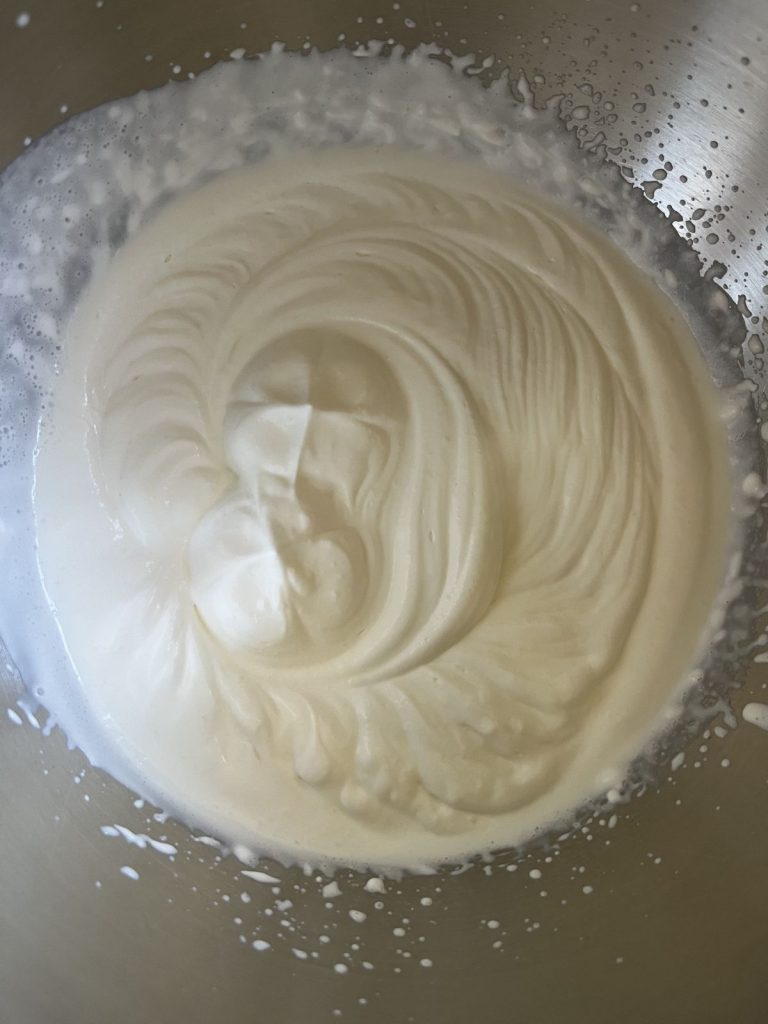
- Pour the cold heavy whipping cream into a mixing bowl.
- Using a hand mixer or stand mixer, begin beating on medium speed.
- Add the vanilla extract.
- Continue beating until soft peaks form for a light, airy texture, or until stiff peaks form for a thicker consistency.
- Serve immediately.
Save it for later!