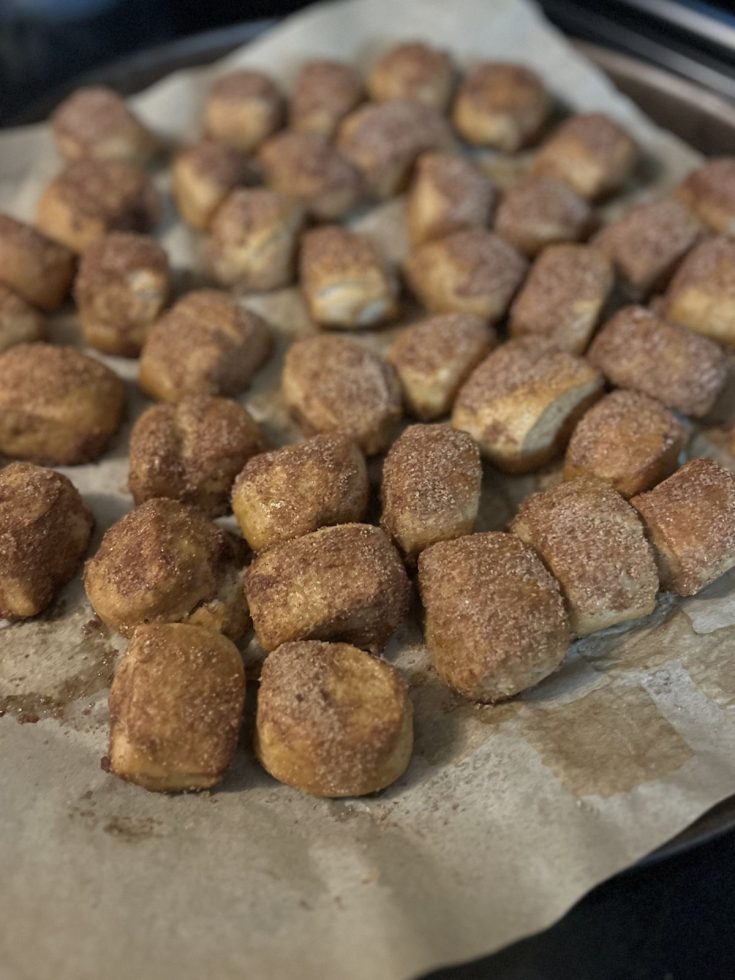
If you love the cozy flavor of cinnamon sugar and the soft, chewy texture of homemade pretzels, these fresh milled sourdough cinnamon sugar pretzel bites are the perfect treat. They are lightly crisp on the outside, tender on the inside, and coated in a sweet spiced topping that makes them irresistible.

These bite-sized treats are perfect for afternoon snacks, holiday gatherings, or a special baking day with your children. They come together beautifully and fill your kitchen with the warm scent of cinnamon and freshly baked bread. Once you make them from scratch with fresh milled flour, you may never want store-bought again.
Fresh Milled Sourdough Cinnamon Sugar Pretzel Bites

If you love the cozy flavor of cinnamon sugar and the soft, chewy texture of homemade pretzels, these fresh milled sourdough cinnamon sugar pretzel bites are the perfect treat.
Ingredients
- DOUGH
- 1/2 cup sourdough starter (100g)
- 1 cup water (230g)
- 1 tablespoon sugar or honey
- 1 teaspoon salt
- 3 1/2 cups flour (450g Hard White Wheat)
- BAKING SODA BATH
- 4 cups water
- 1/4 cup baking soda
- EGG WASH
- 1 Egg
- CINNAMON SUGAR MIXTURE
- 1/2c Sugar
- 1T Cinnamon
Instructions
1. Mill the Flour
Place your mixing bowl on the scale and tare it to zero. Then weight out 450g of hard white wheat berries. Dump them into the grain mill and mill your flour.
2. Mix and Knead the Dough
Add the sourdough starter, water, honey, salt, and flour into the bowl of a stand mixer. Knead on low speed for 15 minutes until the dough becomes smooth and elastic.
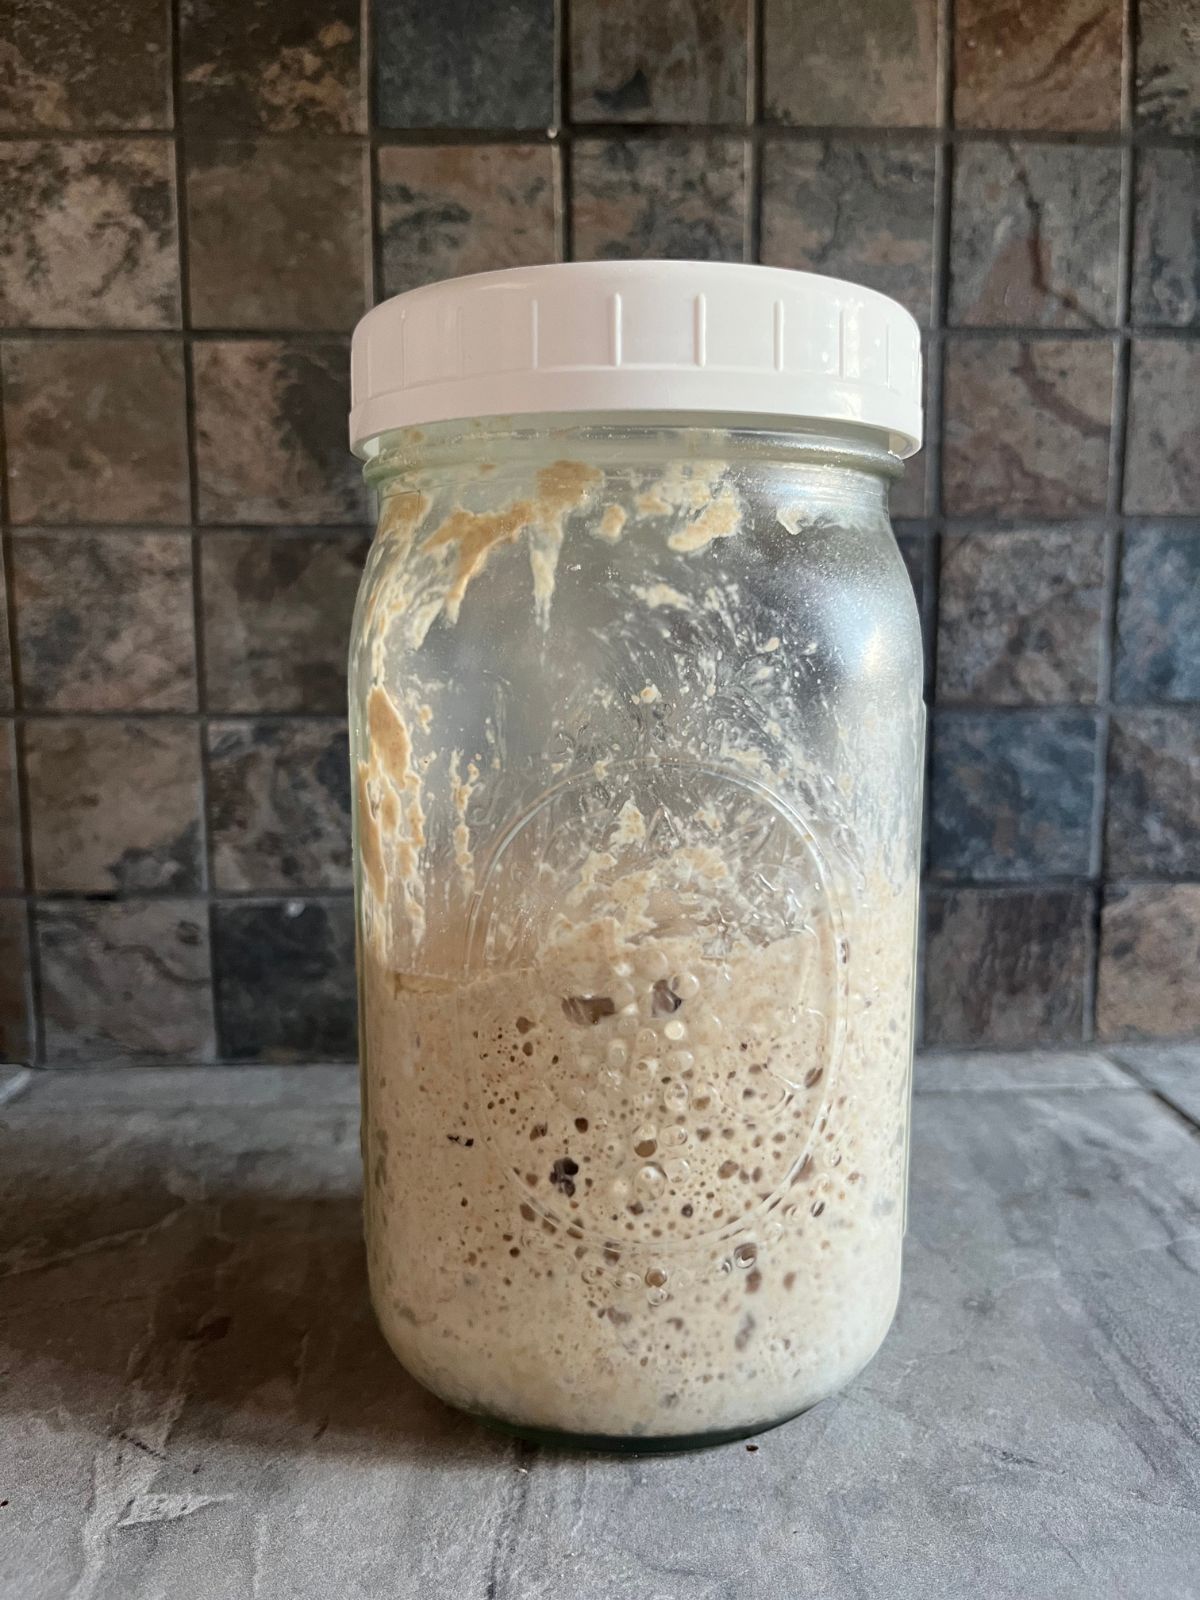
3. Let the Dough Rise
Cover the bowl and allow the dough to rise for 6-8 hours at room temperature, or until doubled in size.
During colder months, place the covered bowl in the oven with the oven light on to create a warmer environment. This simple trick helps speed up fermentation without overheating the dough.
3. Shape the Pretzel Bites
Preheat your oven to 425°F and line a baking sheet with parchment paper.
Turn the dough onto a lightly floured surface and divide it into 6 equal pieces. Roll each piece into a rope about 1 inch thick. Using a sharp knife or bench scraper, cut each rope into bite-sized pieces.
4. Baking Soda Bath
Boil 3-4 cups of water in a kettle and pour into a large bowl. I like to use my mixing bowl since it's stainless steels. Stir in 1/4 cup baking soda until dissolved.
Drop the pretzel bites into the baking soda bath for 20 to 30 seconds. This step is essential — it gives pretzels their signature chewy crust and deep golden color.
Remove the bites with a slotted spoon and place them on the prepared baking sheet. Sprinkle generously with salt.
5. Bake Until Golden Brown
Bake the pretzel bites for 12 to 15 minutes, or until they are deep golden brown.
Once out of the oven, brush with melted butter or oil.
Mixx sugar and cinnamon together into a bowl and roll each pratzel bite in the in cinnamon sugar.
Why Fresh Milled Flour
Milling your own flour allows you to keep all the natural nutrients found in the whole grain, including the bran and germ that are often removed in store-bought flour. Freshly milled flour has a richer flavor, better texture, and higher nutritional value because it hasn’t been sitting on a shelf losing freshness over time. It also gives you more control over the type of grain you use, helping you create wholesome, from-scratch baked goods that truly nourish your family.
Using fresh milled flour makes baked goods like this more satisfying and helps keep your blood sugar from spiking as well so you feel better. It helps me justify making desserts more often for my family which they appreciate.
Equipment Needed
- Stand Mixer
- Grain Mill
- Scale
- Baking sheet
- Parchment paper
- Small bowls for egg wash and topping
- Pastry brush
- Slotted spoon
- Kettle
This post may contain affiliate links, which means I may earn a small commission if you choose to purchase through them at no additional cost to you. I only share products I personally use, love, or truly believe will be helpful in your homemaking journey. Your support through these links helps me continue creating practical, encouraging content for you and your home. Thank you for supporting my work in this simple and meaningful way.
Ingredients
For the Dough
1/2 cup sourdough starter (100g)
1 cup water (230g)
1 tablespoon sugar or honey
1 teaspoon salt
3 1/2 cups flour (450g of Hard White Wheat)
For the Baking Soda Bath
3 cups water
1/4 cup baking soda
For Topping
- 1 Egg, for egg wash
Cinnamon Sugar Mixture
- 1/2c Cane sugar
- 1T Ground cinnamon
How to Make fresh Milled Sourdough Pretzel Bites
1. Mill the Flour
Place your mixing bowl on the scale and tare it to zero. Then weight out 450g of hard white wheat berries. Dump them into the grain mill and mill your flour.
2. Mix and Knead the Dough
Add the sourdough starter, water, honey, salt, and flour into the bowl of a stand mixer. Knead on low speed for 15 minutes until the dough becomes smooth and elastic.
3. Let the Dough Rise
Cover the bowl and allow the dough to rise for 6-8 hours at room temperature, or until doubled in size.
During colder months, place the covered bowl in the oven with the oven light on to create a warmer environment. This simple trick helps speed up fermentation without overheating the dough.
3. Shape the Pretzel Bites
Preheat your oven to 425°F and line a baking sheet with parchment paper.
Turn the dough onto a lightly floured surface and divide it into 6 equal pieces. Roll each piece into a rope about 1 inch thick. Using a sharp knife or bench scraper, cut each rope into bite-sized pieces.
The Baking Soda Bath (The Secret to That Classic Pretzel Texture)
Boil 3-4 cups of water in a kettle and pour into a large bowl. I like to use my mixing bowl since it’s stainless steels. Stir in 1/4 cup baking soda until dissolved.
Drop the pretzel bites into the baking soda bath for 20 to 30 seconds. This step is essential — it gives pretzels their signature chewy crust and deep golden color.
Remove the bites with a slotted spoon and place them on the prepared baking sheet. Sprinkle generously with salt.
Bake Until Golden Brown
Bake the pretzel bites for 12 to 15 minutes, or until they are deep golden brown.
Once out of the oven, brush with melted butter or oil and roll in cinnamon sugar.
Allow the sourdough cinnamon sugar pretzel bites to cool slightly before serving. They are best enjoyed warm, when the cinnamon sugar topping is fragrant and the centers are still soft. Serve them fresh from the oven with a cup of coffee or a glass of cold milk for a simple, comforting treat.