
There’s something so charming about cabinet curtains — they instantly soften a kitchen and add that cozy, old-fashioned touch so many of us love. If you’re looking for an affordable way to refresh your space without replacing cabinets, this simple sewing project makes a beautiful difference. With just a bit of fabric and a tension rod, you can transform open shelving or cabinet doorways in an afternoon. This step-by-step tutorial will walk you through the entire process, even if you’re a beginner seamstress.
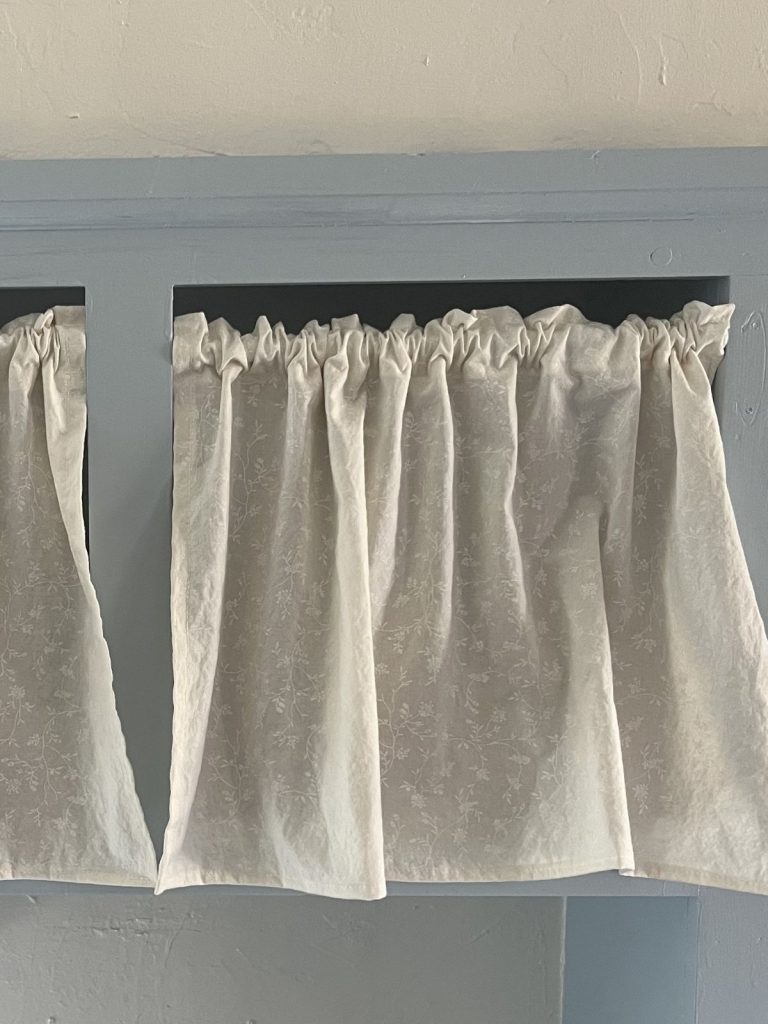
Cabinet curtains are also a wonderful solution if you’ve removed cabinet doors for open shelving but still want the option to conceal everyday clutter. I recently removed three cabinet doors to display pretty dishes, but three open shelves were too many so I added a curtain in the middle to hide some necessary clutter. It’s a practical balance between beauty and function and works perfectly for my kitchen.
Best of all, this is beginner-friendly sewing project doesn’t require complicated measurements or advanced techniques. With straight seams and simple folds, you can create something that feels custom and thoughtfully made. Whether your style leans cottage, farmhouse, or vintage-inspired, these little curtains add warmth and personality in the sweetest way.
Equipment & Supplies
- Sewing machine
- Fabric (Cotton is my preference because it won’t slip around while you sew)
- Coordinating thread
- Scissors
- Measuring tape
- Tension rod
Note: this post contains affiliate links.
Step 1: Wash and Dry Your Fabric
Before you measure or cut anything, wash and dry your fabric.
This prevents shrinking after you’ve sewn and hung your curtains. There is nothing more disappointing than perfectly fitted curtains that suddenly become awkwardly short after one wash.
Iron the fabric if necessary after drying so your measurements are accurate.
Step 2: Measure Your Cabinet Opening
You’ll need two measurements:
Height
Measure the height of the cabinet doorway.
Add 5 inches to that number.
(Those extra inches account for hemming and the rod pocket.)
Width
Measure the width of the cabinet doorway.
Then double that number.
Doubling the width gives you fullness so the curtain gathers softly instead of hanging flat and stiff.
Step 3: Cut Your Fabric
Using your measurements:
- Measure out the adjusted height.
- Measure out the doubled width.
- Cut your fabric.
If your fabric pattern has a direction, double-check before cutting so it doesn’t end up upside down when hung.
Step 4: Hem the Sides and Bottom
Now we’ll create clean finished edges.
- Fold one side edge under ¼ inch and fold over again. You can pin it or fold it over as you sew.
- Sew straight down the folded edge.
Repeat for the bottom and the other side.
Step 5: Create the Rod Pocket
Now for the top.
- Fold the top edge down ¼ inch and sew across.
- Fold it down again 2 inches.
- Sew straight across near the bottom of that fold.
You’ve just created a rod pocket for your tension rod.
Step 6: Add a Soft Ruffle (Optional but Lovely)
If you want that sweet gathered look at the top:
- Measure ½ inch down from the top of the rod pocket.
- Sew a straight line across the entire width.
When you insert the rod, this creates a small ruffle above the curtain — a subtle detail that adds so much charm.
Step 7: Hang Your Cabinet Curtain
Slide the tension rod through the rod pocket.
Place it inside the cabinet frame and adjust the rod so it fits snugly.
Gently arrange the gathers evenly across the width.
Step back and admire. It instantly softens hard cabinetry and makes the space a bit more lovely!
Fabric Tips
- Light cotton prints feel cheerful and classic.
- Linen or linen-blend fabrics give a relaxed, heirloom feel.
- Ticking stripes add farmhouse charm.
- Small florals lean cottage-style.
If your kitchen has pale blues, warm wood tones, or beadboard details, cabinet curtains can tie everything together beautifully without a full remodel.
Leave a Reply